Hardness Tester – for inspection of the hardness of the balls


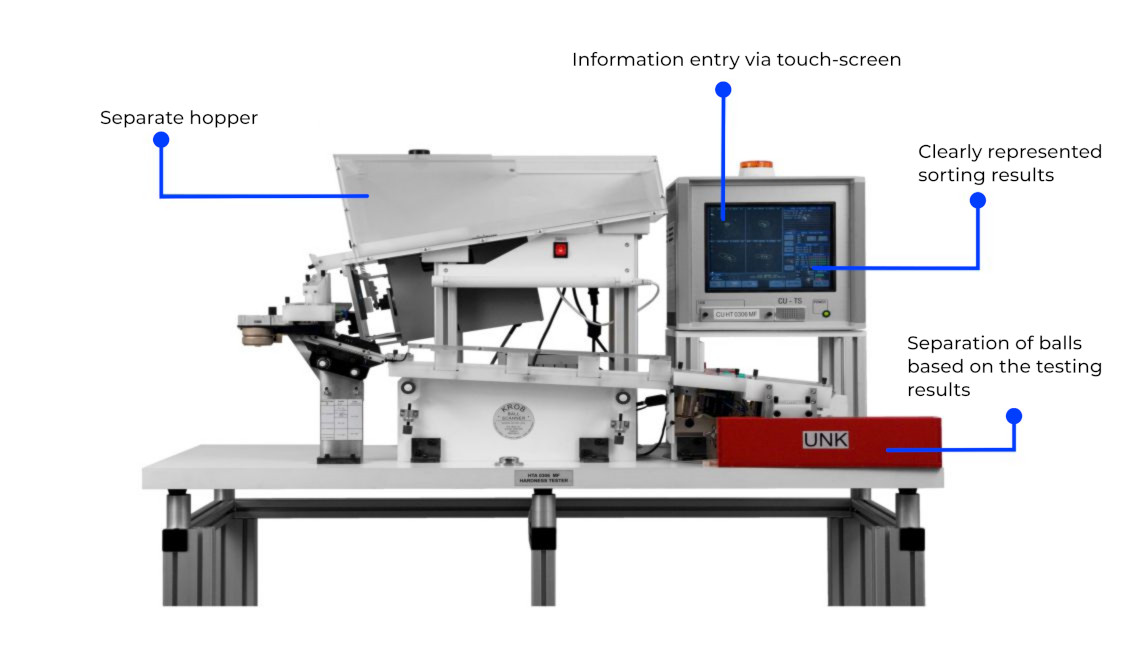
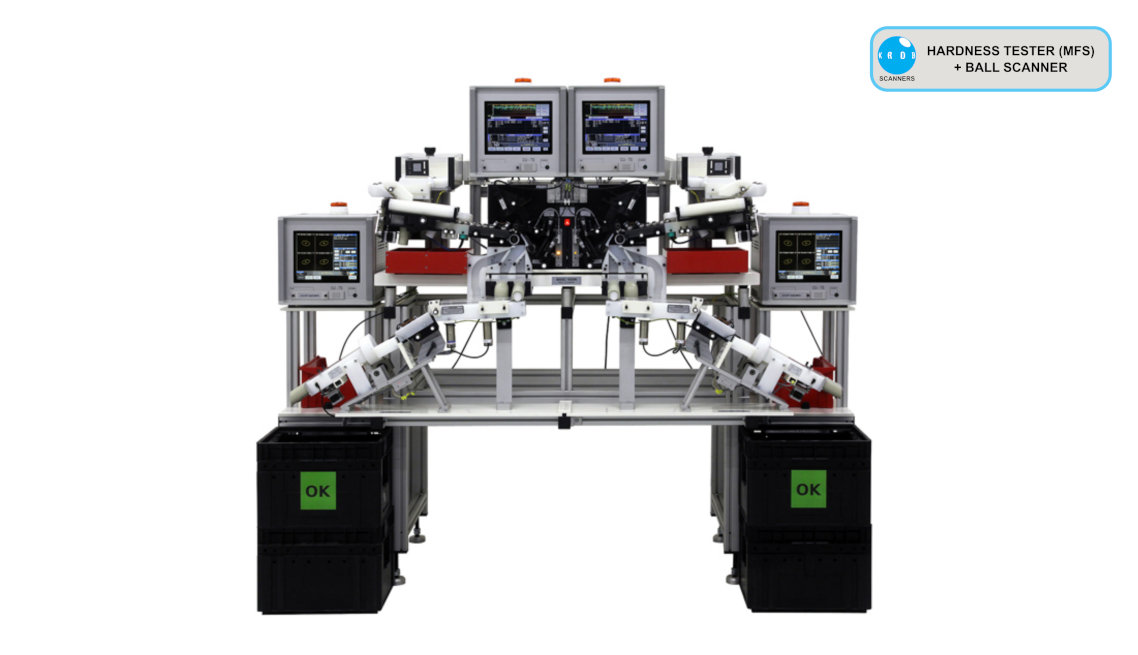
The Hardness Tester is a machine for the non-destructive inspection and sorting of steel balls, based on their hardness and type of material. The device, with its up to 4 built-in sink coils, can analyze on a multi-frequency basis the electrical parameters representing the chemical composition and the crystallographic structure of the material and then compare them with known calibration balls. This makes it possible to sort the balls according to their hardness with an accuracy of ±2 HRC from the calibration ball or based on material difference.
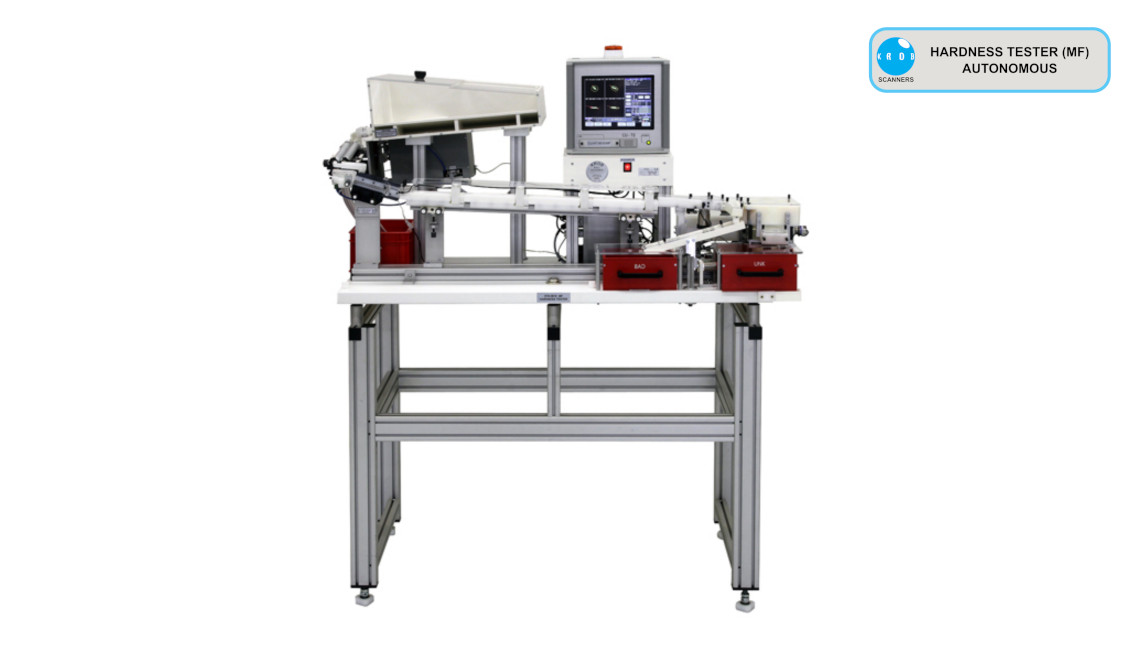
The Hardness Tester is available in two versions, either as a standalone autonomous HTA MF with its own hopper or as a non-autonomous HT MF, placed after the Ball Scanner output or other equipment as required by the customer.
Currently we offer BSW machines in the following ranges
Methods of measuring hardness and type of material
Dynamic
The inspection is performed using four fully independent drop coils with its own evaluation system. Thanks to this arrangement, the machine can inspect the ball at 4 different frequencies without stopping the ball. The frequency range of the inspection is 10.0 to 150.0 kHz.
Static
The inspection is performed using one electromagnetic coil when the ball is stopped. The ball is stopped inside the coil and inspected successively by four selectable frequencies. The frequency range of the inspection is 1.0 to 150.0 kHz.
Standard equipment of HT(A) MF
- User friendly control using Touch-Screen (CU-TS)
- Immediate evaluation of each ball showing on the screen and option to print the inspection report
- Hopper for balls
- Machine status signalisation
- Accuracy of ball sorting ±2 HRC

